Freddy Hugs. Good for you.
Dough for 24 Hugs
Equipment required for Hug Dough
- Bowl for Yeast
- Bowl for water
- Bowl for dough – with bowl cover if available
- Gram scale
- Kitchen scale
- Whisk
- Dough scraper
- Cling wrap
Ingredients required for Hug Dough
7g active dry yeast
448g warm water
Pinch of sugar
14g Diastatic Malt
350g Unbleached all-purpose white flour
350g Whole grain whole wheat flour
14g salt
7g olive oil
Hug Dough Balling
Equipment required for Hug Dough Balling
Kitchen scale
Weigh each portion to have consistent sized Hug dough balls.
Large baking sheet
This will be to store the Hug dough balls in the refrigerator and will also be used in the next step, after baking the Hugs.
Dough cutter/scraper
This will be useful in cutting the dough and adding or trimming to the correct sized portions.
Cling wrap
To cover the Hug dough balls and moderately frustrate oneself with static electricity and cellophane surface welding.
Olive oil
For coating the Hug dough balls to prevent loss of moisture.
Tea towel
To cover the Hug dough balls and assist the cling wrap to maintain moisture.
Hug Rolling/Filling/Baking
Equipment required for Rolling/Filling
Oven mitts
If you don’t have these, two tea towels will replace one oven mitt. Just have oven mitts, please.
Hugs Baking Pans x 2
Specialty pans – 12 Hugs per pan
Baking sheets x 2
Standard Cookie sheets. I use these in place of a pizza stone, or pizza steel. They also ensure prevention of drips and drops. Even if you have a stone or steel, I advise using baking sheets to hold the pans.
Paper towel (2 full sheets)
Two full paper towel sheets for lining the pan the Hugs will sit in after they are baked. Historically, I’ve been using the pan from which the dough balls lived in the prior dough prep step.
3 Tea towels
One for drying your hands, etc – no touching food.
The other 2 of them will be touching food. One of those two is gonna get messy from flour, and wet flour, and wiping wet floured work area. This is the towel I tuck into my apron strings in the front.
Kitchen scale
Weigh out the filling for each Hug.
Pastry brush
For brushing oil onto the Hugs out of the oven.
Paring knife, or lame
For cutting the slits in on the tops of the Hugs before baking, to assist with venting.
Tongs
Flat sided tongs are kinder to the sides of the Hugs. Scalloped tongs tend to dent and bit into the product.
Dough scraper
For managing flour while rolling out the dough balls.
Rolling pin
I have a french style pin and have never questioned it. I am suspicious of straight pins and their edges and their restricting squared rolling. I see myself cutting an edge of the pin into dough or pastry. Nightmare fuel.
Unbleached all-purpose white flour
A cup and a half should be more than enough to roll out 24 Hugs. It’s meant to prevent the dough from sticking to anything. Countertops, rolling pins, hands, pans, sheets, childrens, pets, etc.
Olive oil
For brushing onto the hugs out of the oven. I use Olive oil, but have used shortening, vegetable oil, bacon grease, and butter. Any fat or oil should work. I could see and infusion with truffle or sesame oil really doing something to something.
Container for olive oil
2 cup container. Has to hold a pastry brush without tipping over. Trust me on that.
Container for measuring filling
Something that allows you to work freely with the filling, and what you are using to portion the filling. This will sit on the scale for it’s Hug life.
Container for water
Dabbing the water onto the dough will work as a glue when folding the Hugs.
Vegetable shortening
Grease the baking pans molds. I use stored bacon grease in lieu of vegetable shortening. I do use vegetable shortening to keep special Hugs vegan, vegetarian, Kosher, and Halal.
Instructions for set up for Rolling/Filling
Remove the sheet of Hug dough balls from the refrigerator. Place the sheet of Hug dough balls at the dough rolling station.
Place the two baking sheets on middle rack in the oven.
Preheat the oven to 420 degrees Fahrenheit.
Grease the baking pans and place into refrigerator.
Set out:
Filling Station:
- Kitchen scale
- Container for weighing filling
- Container with water
Oven station:
- Oven mitts
- Tongs
- Container with olive oil
- Pastry brush
Hug dough rolling station:
- Unbleached all-purpose white flour
- Rolling pin
- Dough scraper
Instructions for Rolling
Put on apron, hang a tea towel from the apron strings in the front.
Flour the rolling station and rolling pin.
Flour a ball.
Flatten the ball.
Roll out the disc.
Tap off the excess flour best you can.
Extra flour on the dough will not hurt a thing. The olive oil brushed opnto the Hug after the baking will keep the outside of the Hug looking, tasting, and have the texture feeling more appealing.
Line the discs off to one side. A little bit of overlap will not cause the discs to bind together.
Roll 12 dough balls into discs.
Instructions for Filling
Bring out the filling of choice.
Remeasure the total filling with another container if wary about the amount for each Hug. You should have enough for 24 for this recipe. My recommendation is for 35-40g filling. Use closer to 35g if there is more sauce and cheese. Any moisture or heated oils can affect the integrity of the hugs. The combined heat and expansion will cause tearing on the sides of the hug. Even with the venting at the top there will still be compromised Hug walls. This is normal. The integrity of the overall Hug in taste, shape, flavour, and texture will more than compensate for any minor filling loss or aesthetic differences.
Measure and drop the filling onto the centre of the disc.
Dab water at the 6 o’clock of the disc.
Fold the top over the filling.
Tamp the sides lightly on the around the filling.
Fold the bottom up and stick it onto the top.
The filling should be snugly wrapped.
Tamp the sides again lightly around the filling.
Wet each side end and fold over top.
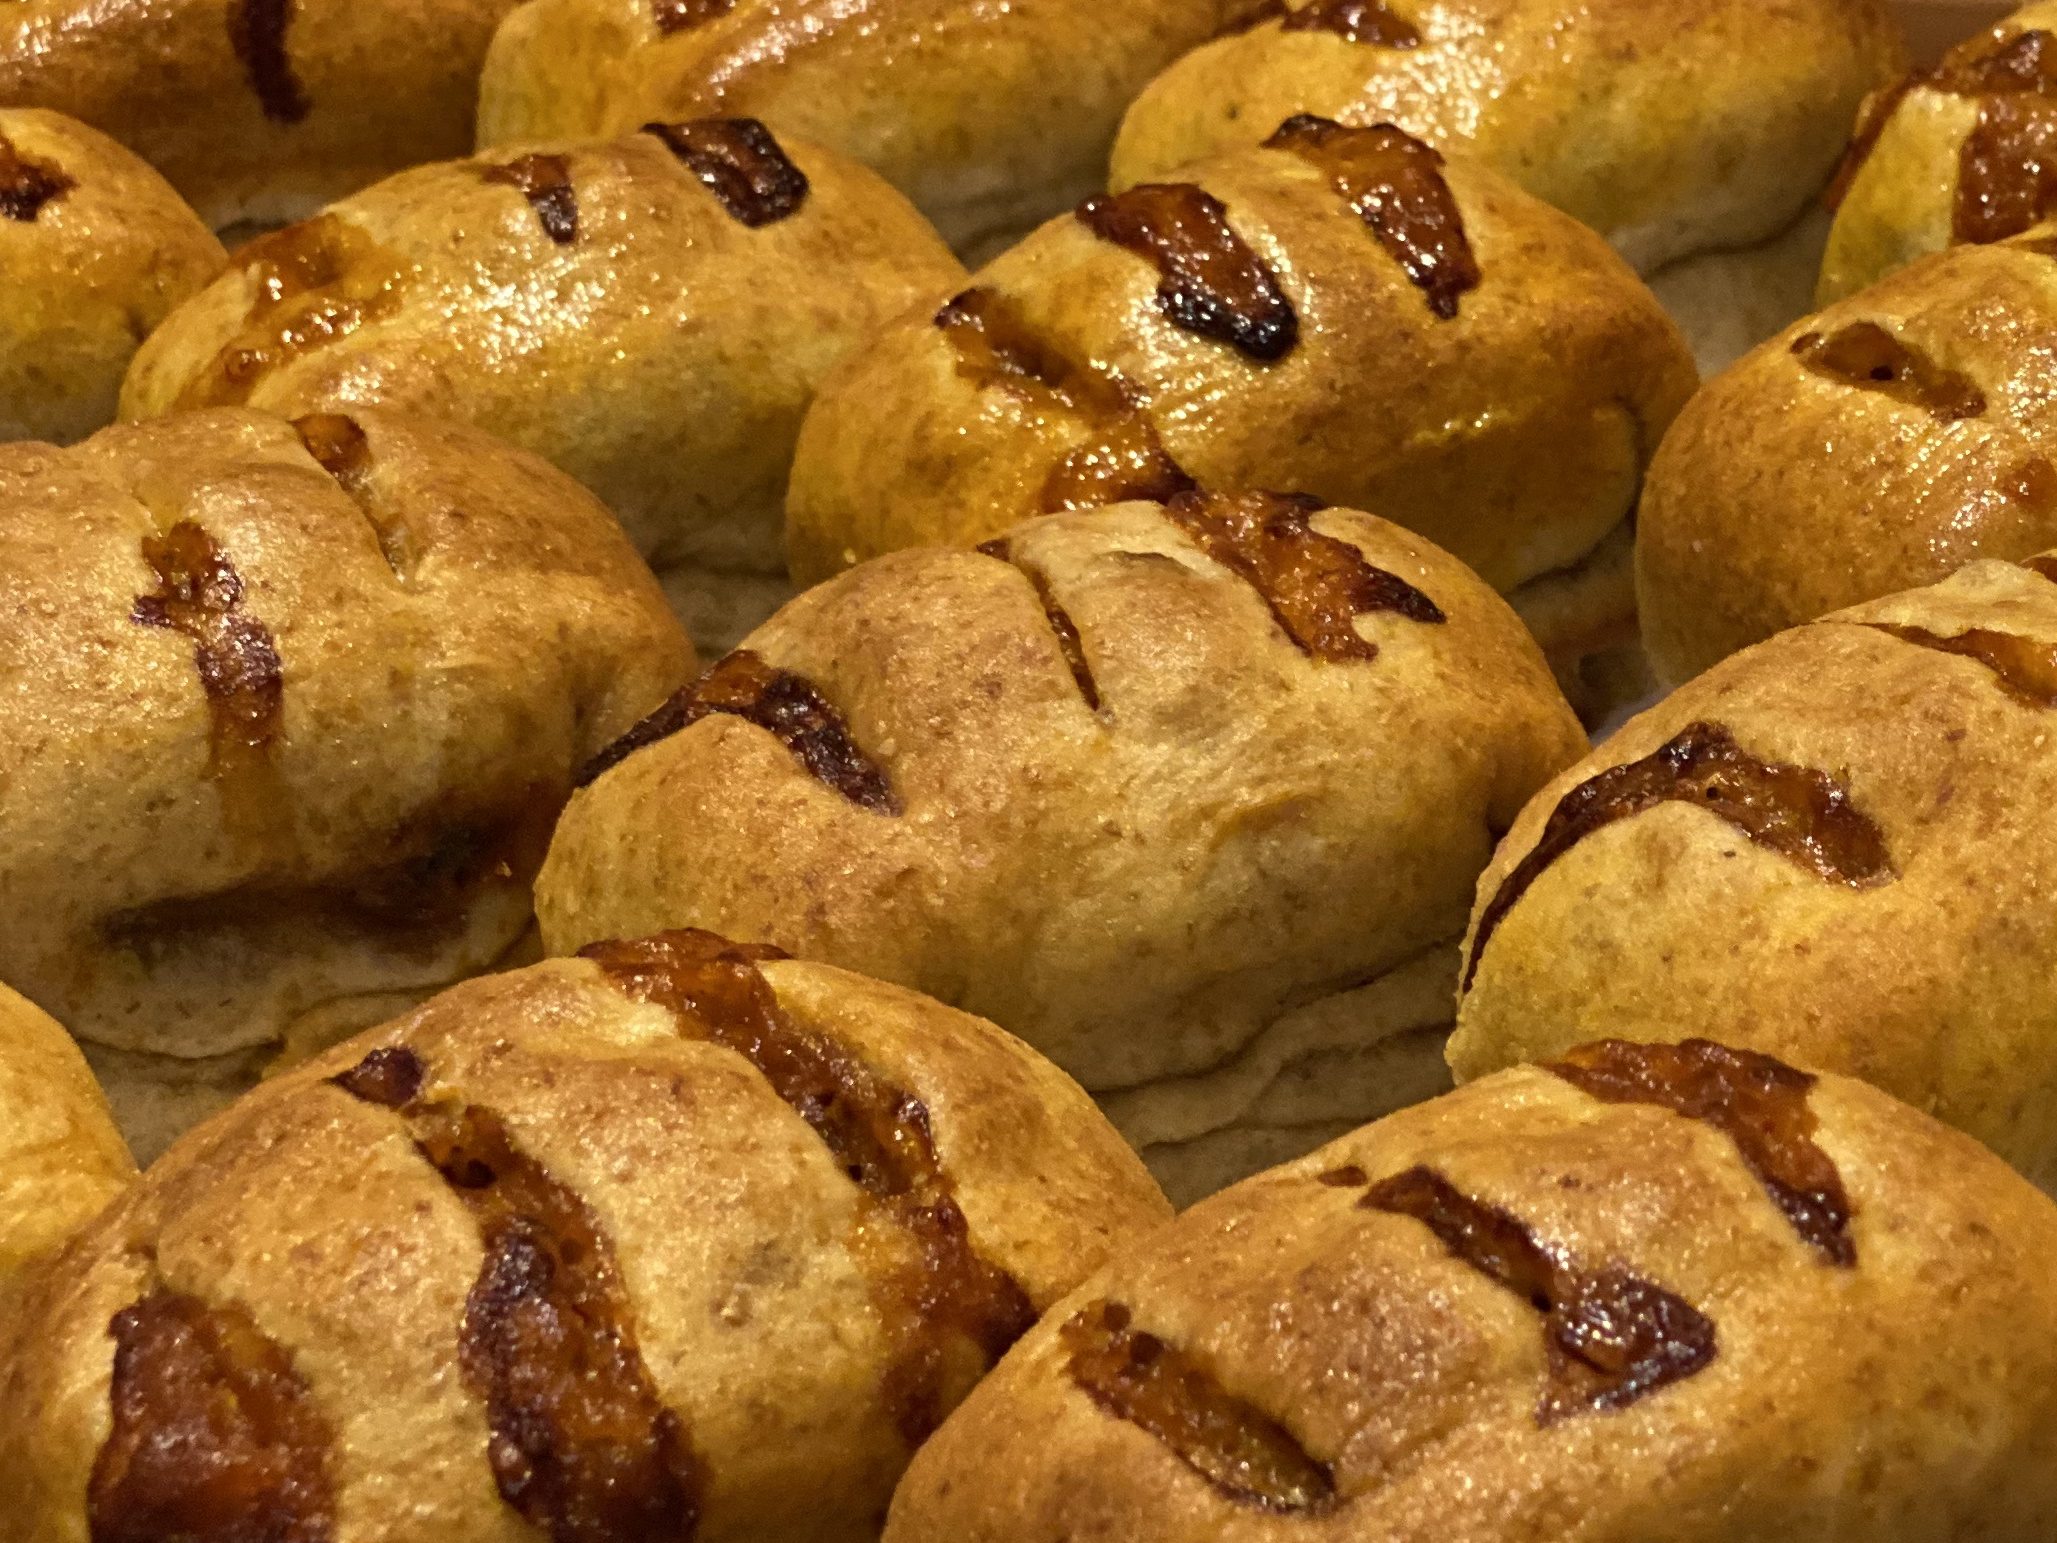
You should have a rectangle-ish shape when the top and bottom are folded over top. Each end will have what appear to be three surfaces that will fold onto the Hug. Moisten generously with a dab of water to cover most of the exposed surface(s). Fold the end over the top. Repeat for the other end. You will wind up with a snug little hug, with smiles on the sides, or looking like the arms wrapped into a hug. The “seam” will be placed down into the pan cavity. Smooth side up. The smiles are along the length of the cavity.
Slice three slits into the top of each Hug. This will assist venting moisture and heat.
Instructions for Baking
Pull a heated baking sheet from the oven.
Fill the pan with the 12 Hugs.
Place the baking pan of Hugs onto the baking sheet.
Put the baking sheet with the baking pan of Hugs into the oven.
Bake at 420 degrees Fahrenheit for 25 minutes.
